
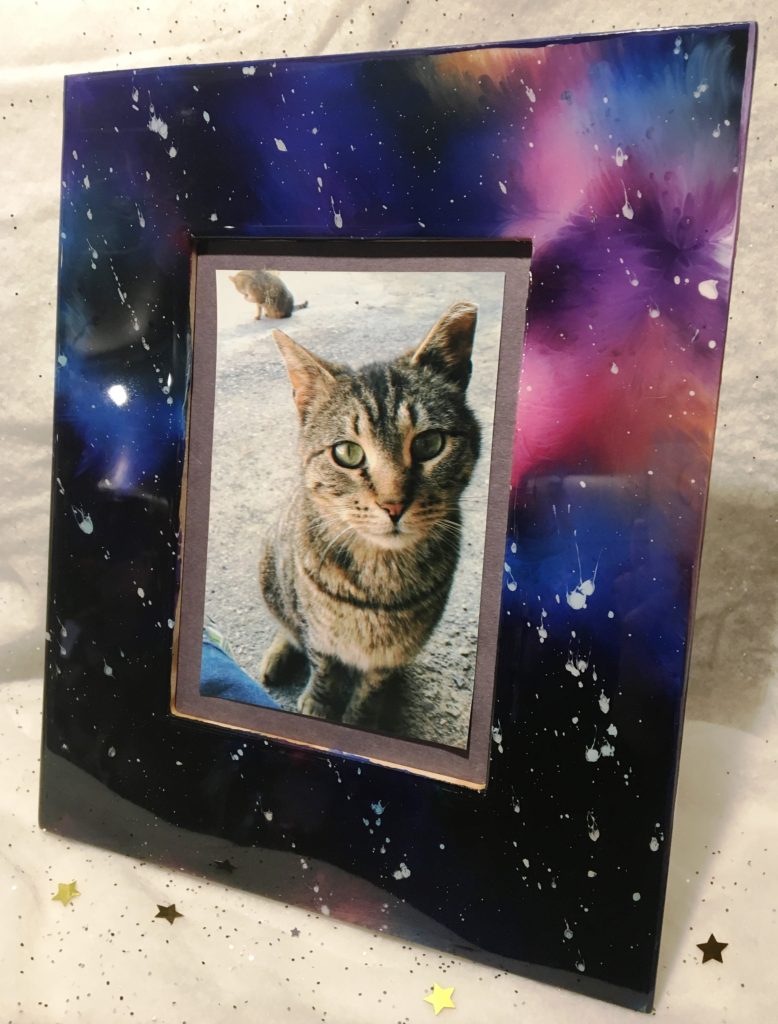
DIY PROJECT IDEA
Part 1 – Paint
Time: 20 minutes + dry time
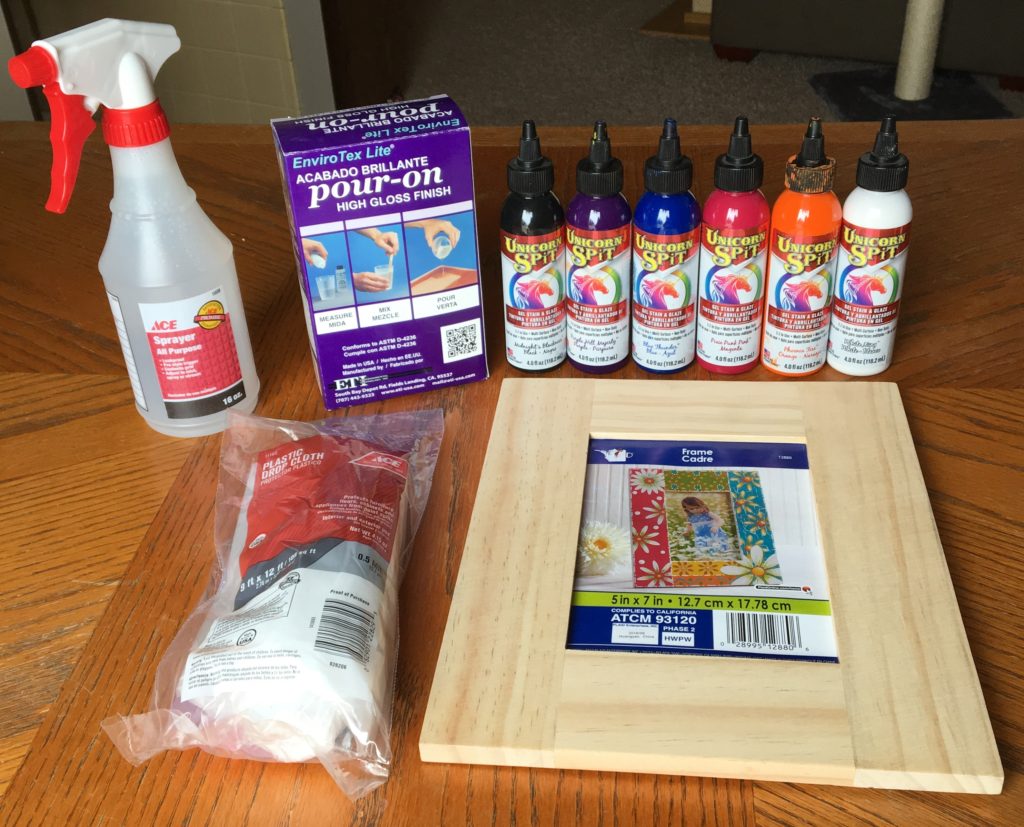
You Will Need:
- Unfinished Wood Photo Frame
- Unicorn Spit Gel Stain & Glaze: Midnight’s Blackness, Purple Hill Majesty, Blue Thunder, Pixie Punk Pink, Phoenix Fire, White Ning
- Spray Bottle of Water
- Plastic Drop Cloth
- Piece of plastic cut to size larger than frame (cut from drop cloth or use cling wrap)
- Disposable Gloves
Here’s How:
1. Protect your work surface with plastic drop cloth. Shake paint well. Remove back, insert, and glass from photo frame. Lay flat.
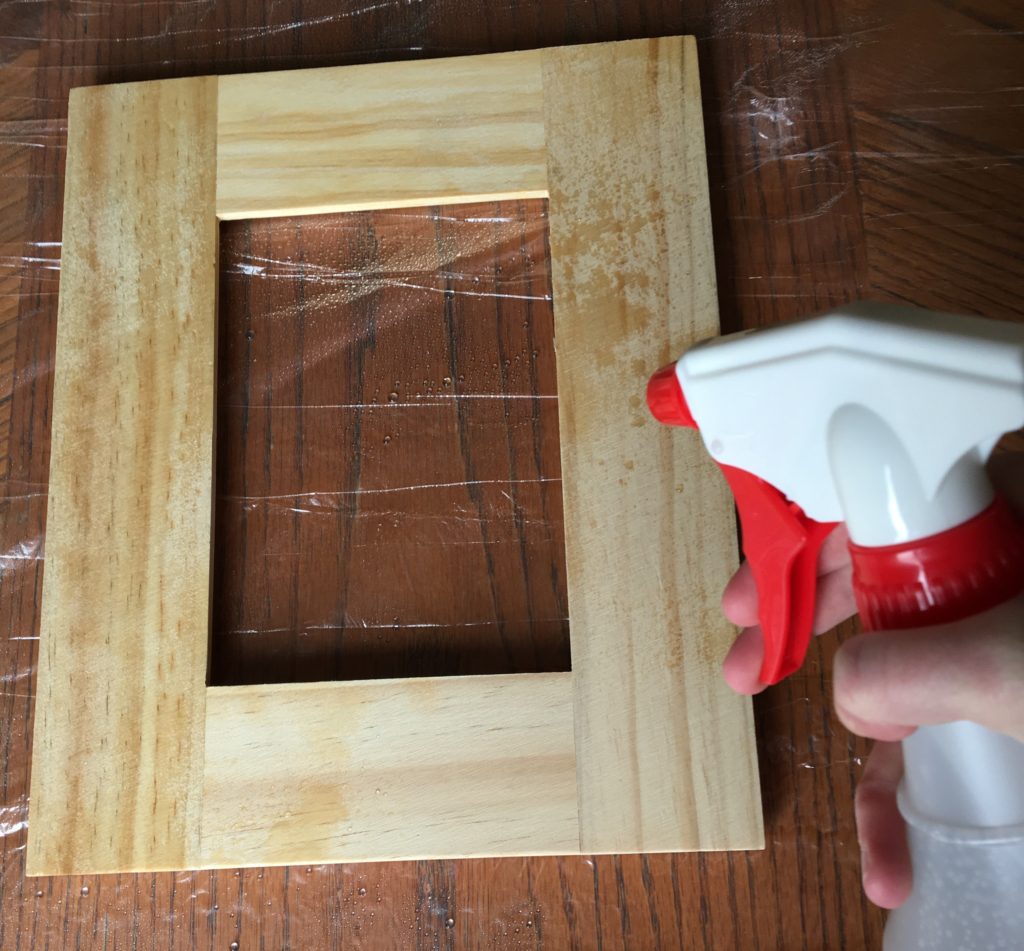
2. Use water spray bottle to thoroughly soak wood photo frame.
*Water acts as a carrier for the pigment in the paint. The more soaks in, the richer the colors will be. Water also aids in manipulating and mixing the colors.
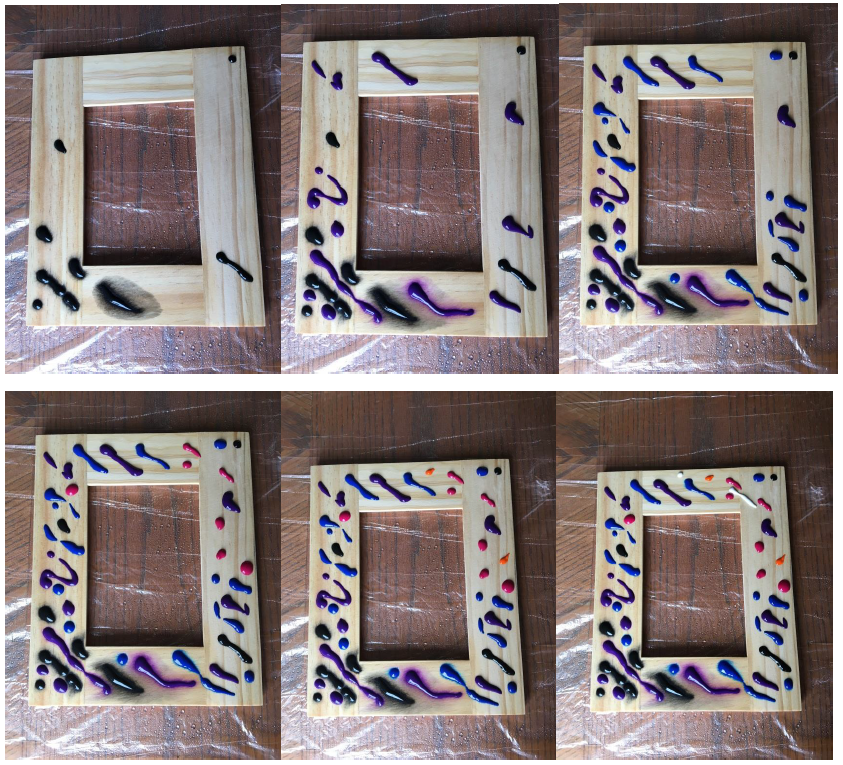
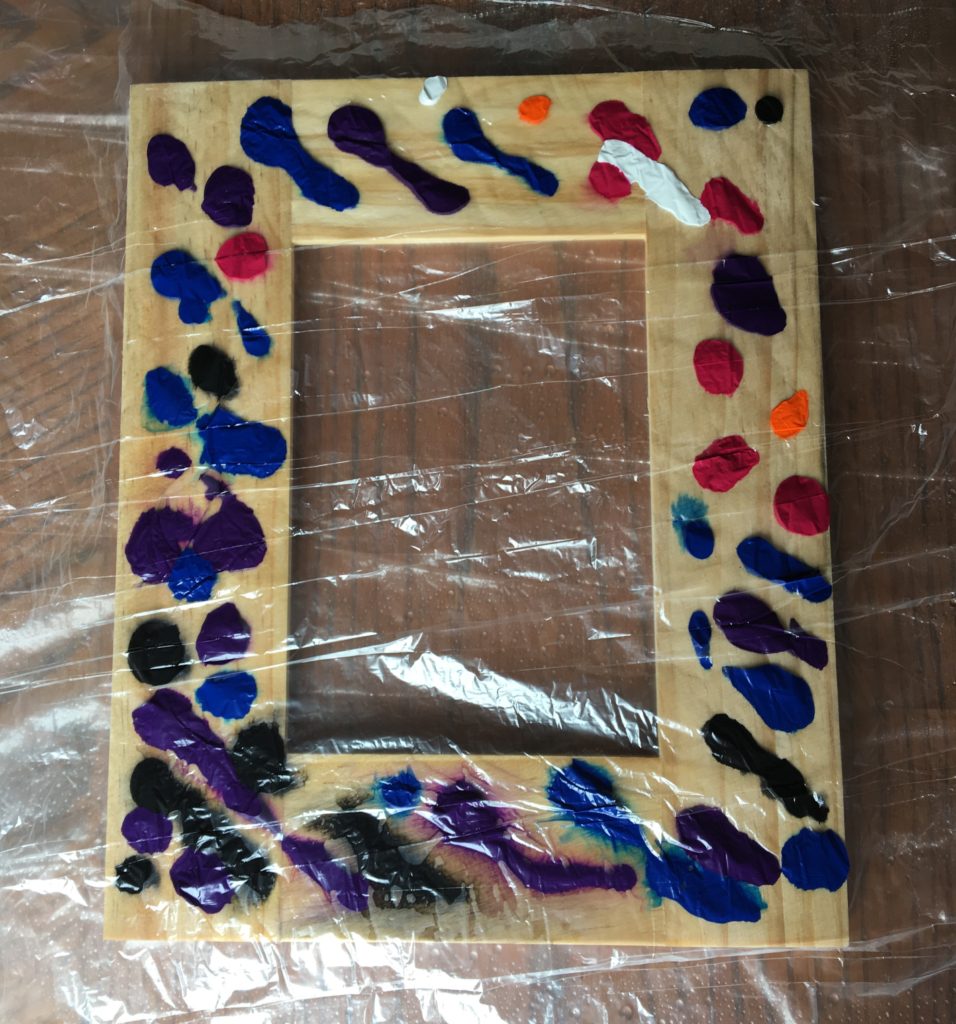
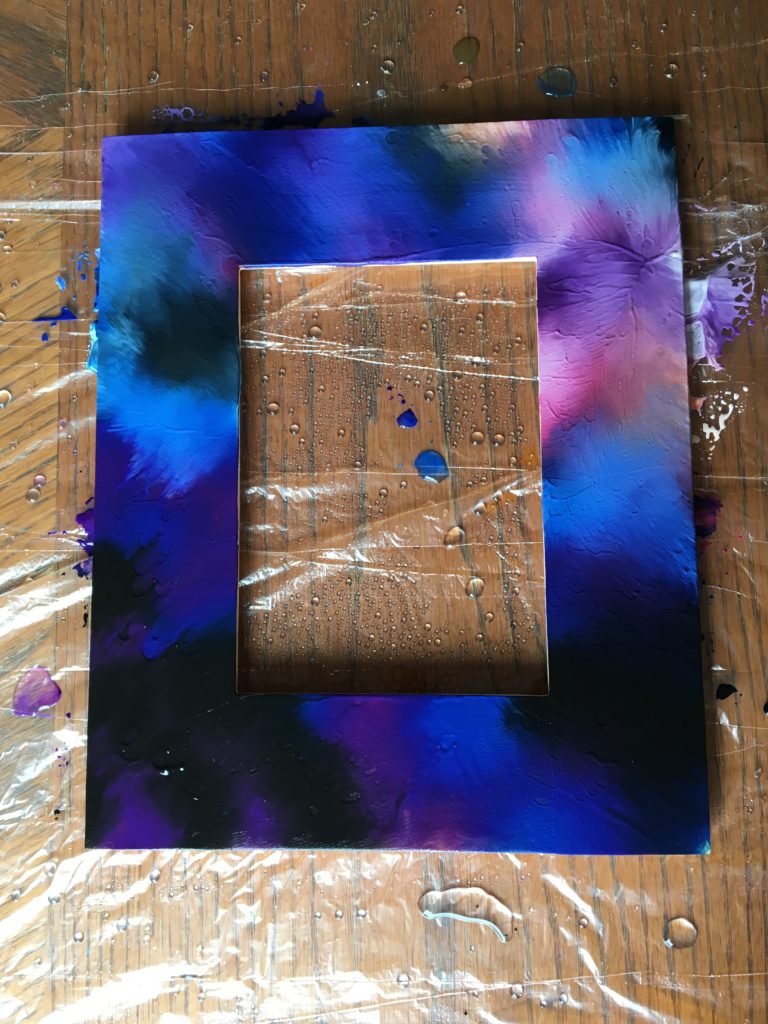
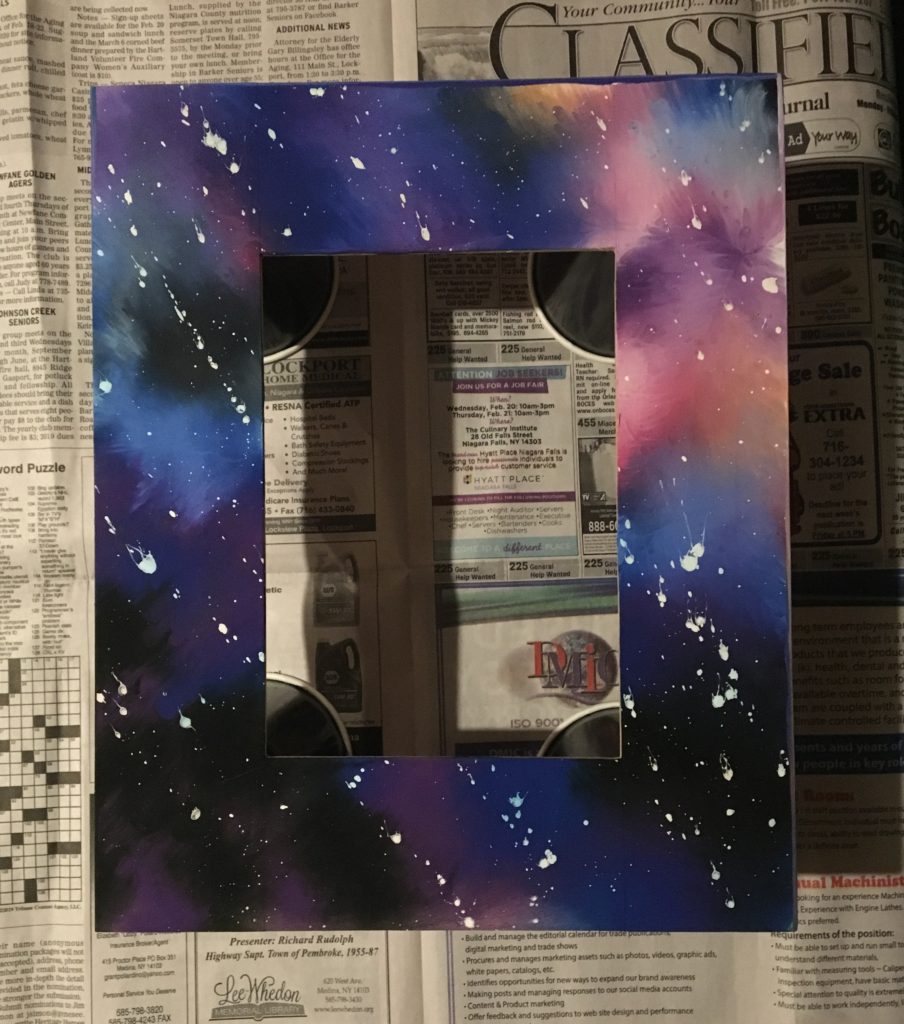
3. Wearing gloves if desired, apply the Unicorn Spit in assorted lines and drips. We started with Midnight’s Blackness and worked from darkest to lightest diagonally.
*Do an internet search for photos of “galaxy” for inspiration. Note the colors and patterns you see and try to mimic those in your painting.
4. Lightly spritz your paint with water from the spray bottle.
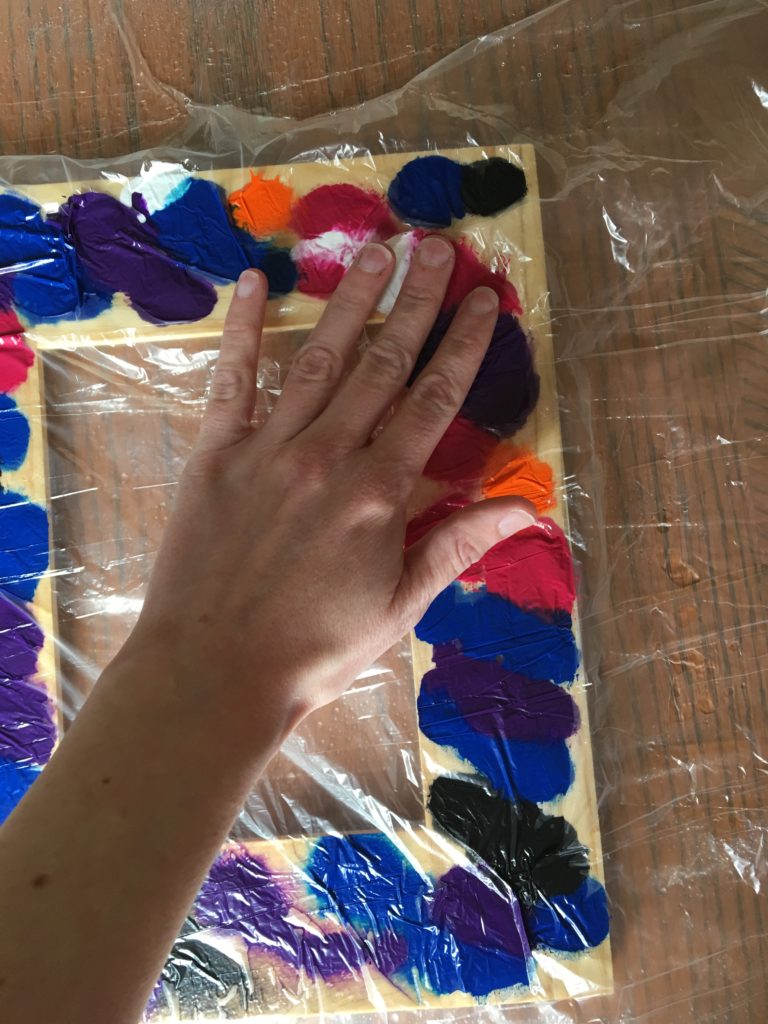
5. Gently lay the cut piece of plastic over the frame, working out any air bubbles.
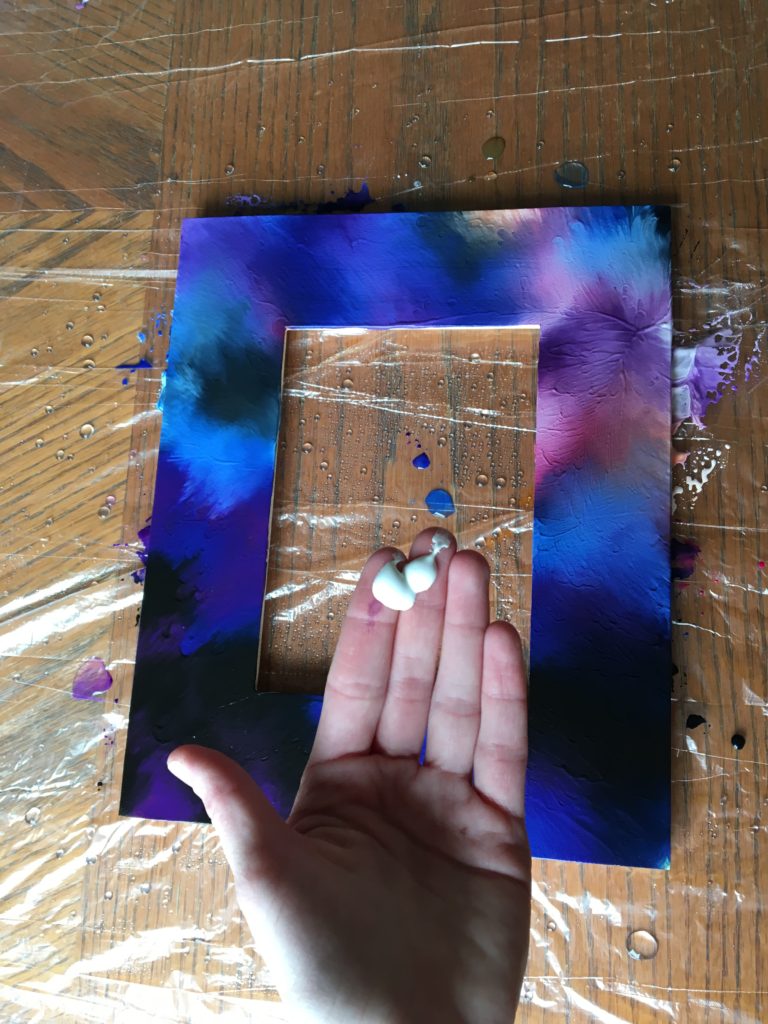
6. Use your fingers to squish and mix the paint around—not too much, but enough to combine the colors to your satisfaction. Peel the plastic back and add more paint if desired (we added more white to lighten the orange and pink). Replace the plastic and mix some more.
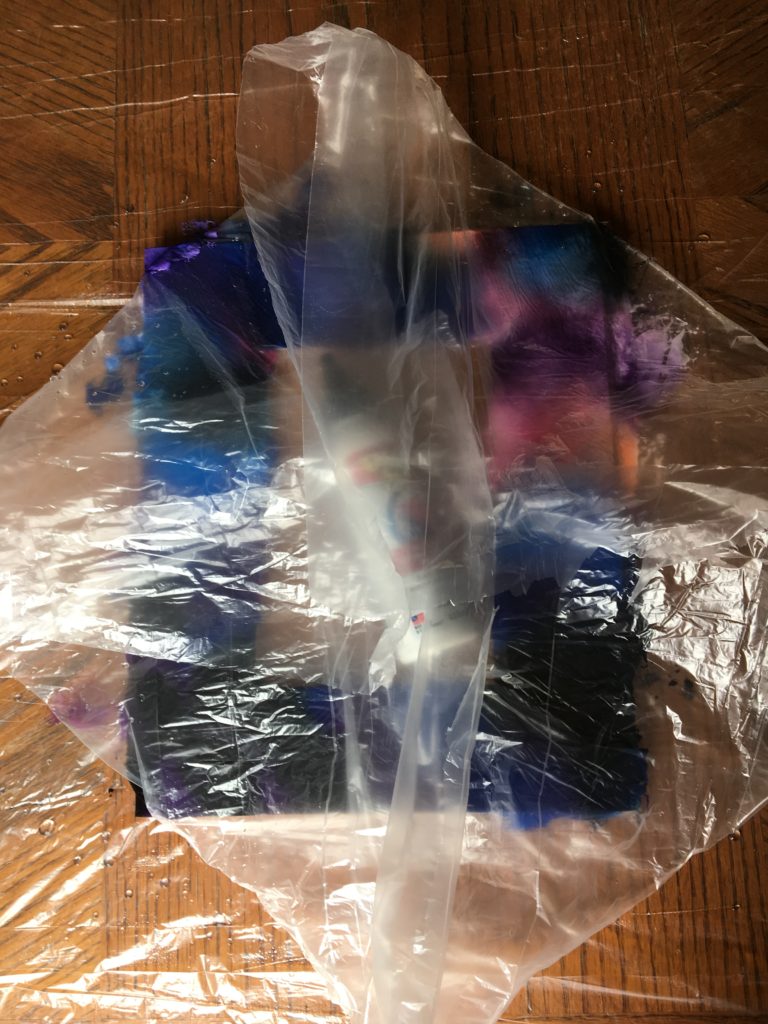
7. When you’re happy with the colors, lay something heavy in the middle of the plastic as a weight. (We just used a full bottle of Unicorn Spit.) Gently pull all four corners of the plastic to the center, and lift.
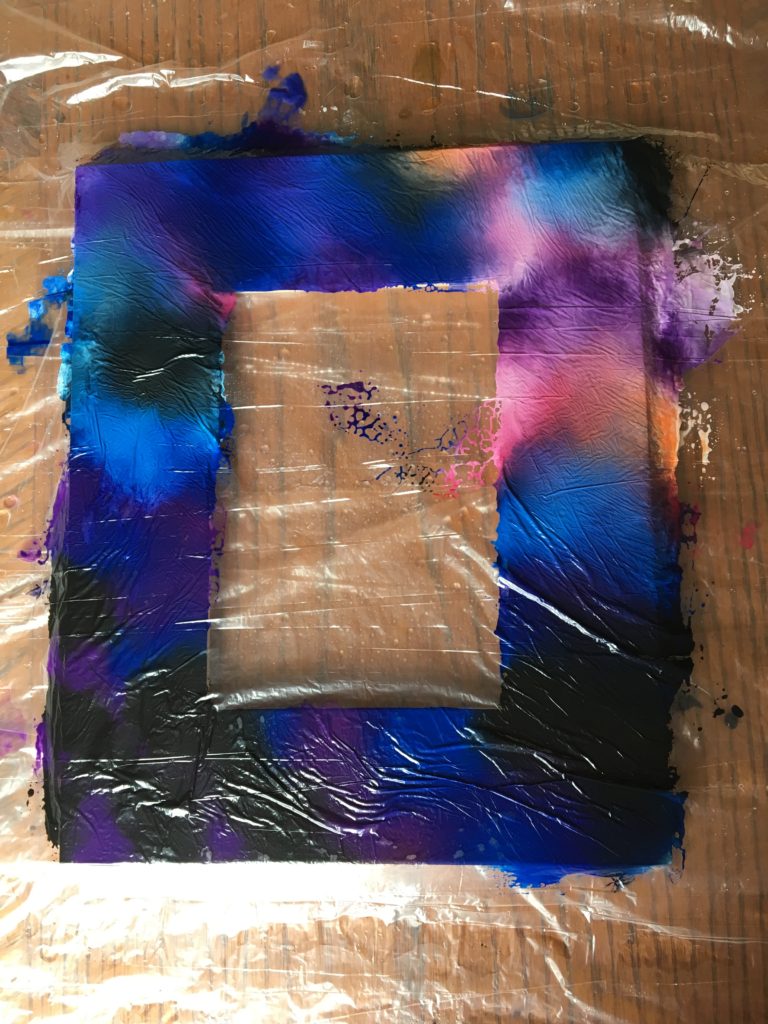
8. Use your fingers or a brush to adjust the paint to your satisfaction. You can add more paint or more water, if you like. Remember the colors will look a little lighter after the pigment has soaked into the wood.
9. With your fingers and thumb, flick some White Ning across the surface to look like stars.
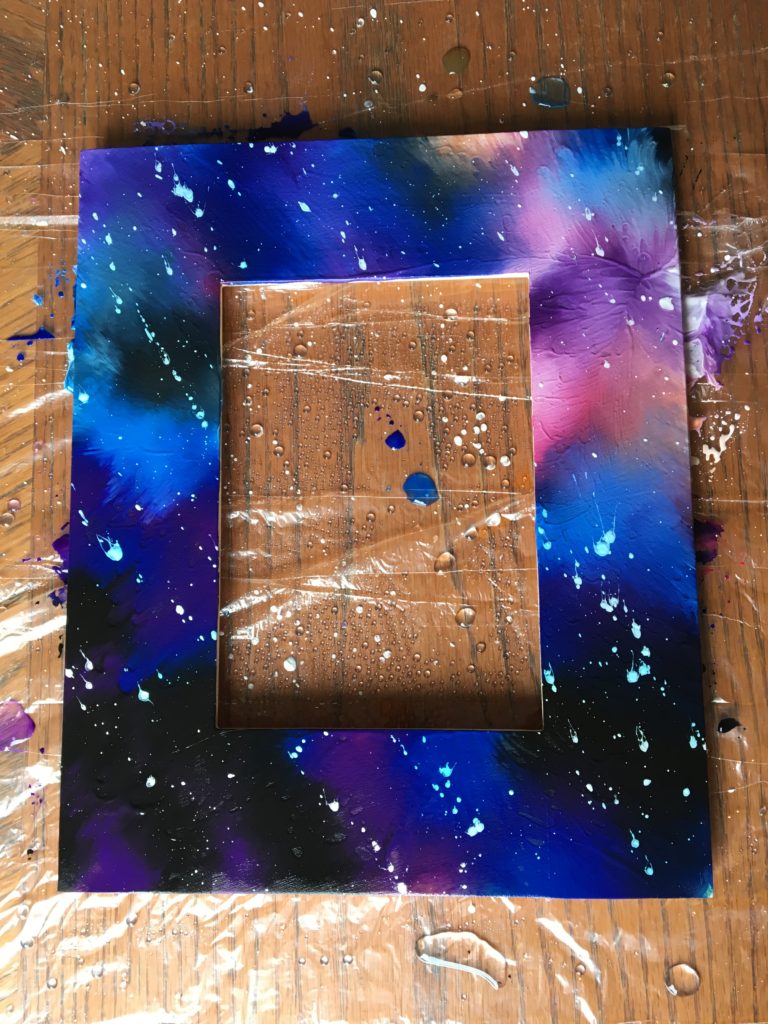
10. Allow to dry overnight.
Watch our “How To” video of Part 1 here: https://youtu.be/7juRruArBTk
Part 2 – Finish
Time: 15 minutes + dry time
You Will Need:
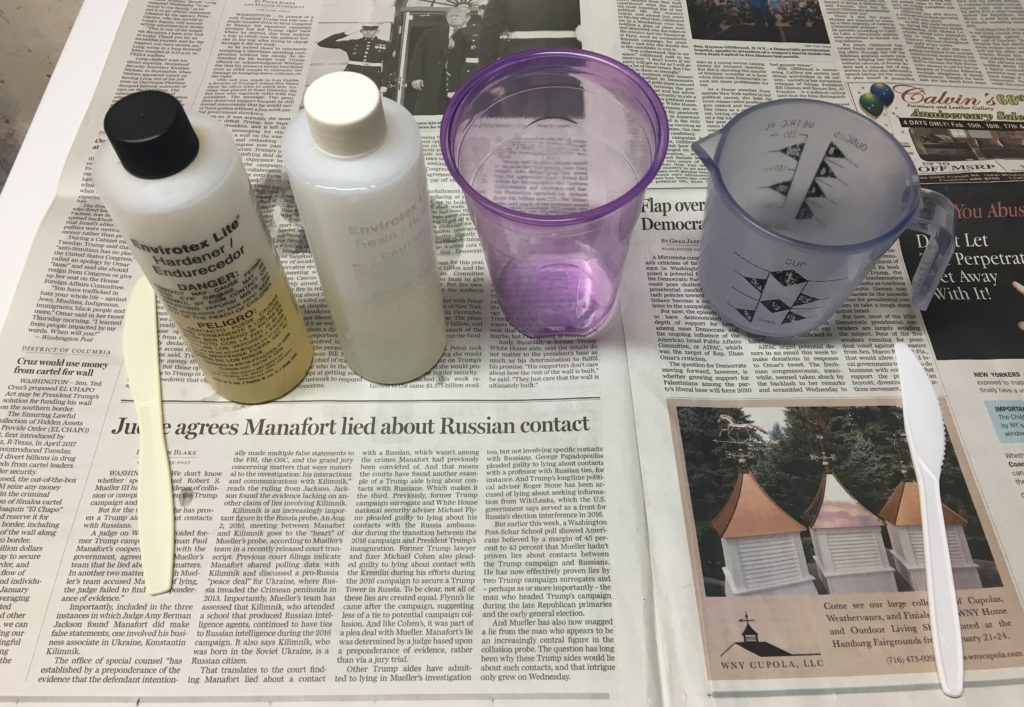
- Envirotex Lite Pour-On High Gloss Finish Kit
- 5 Disposable Cups
- Throwaway Measuring Cup
- 2 Stirrers
- Disposable Gloves
- Cardboard and Newspaper
1. IMPORTANT: Read and understand the manufacturer’s instruction booklet that comes in the Pour-On Finish Kit.
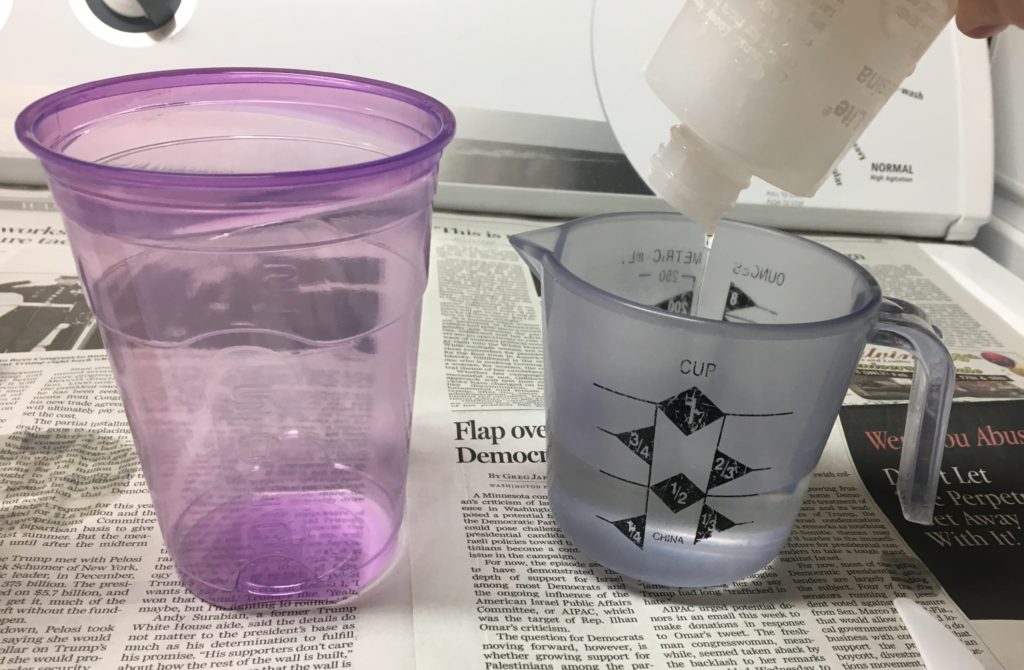
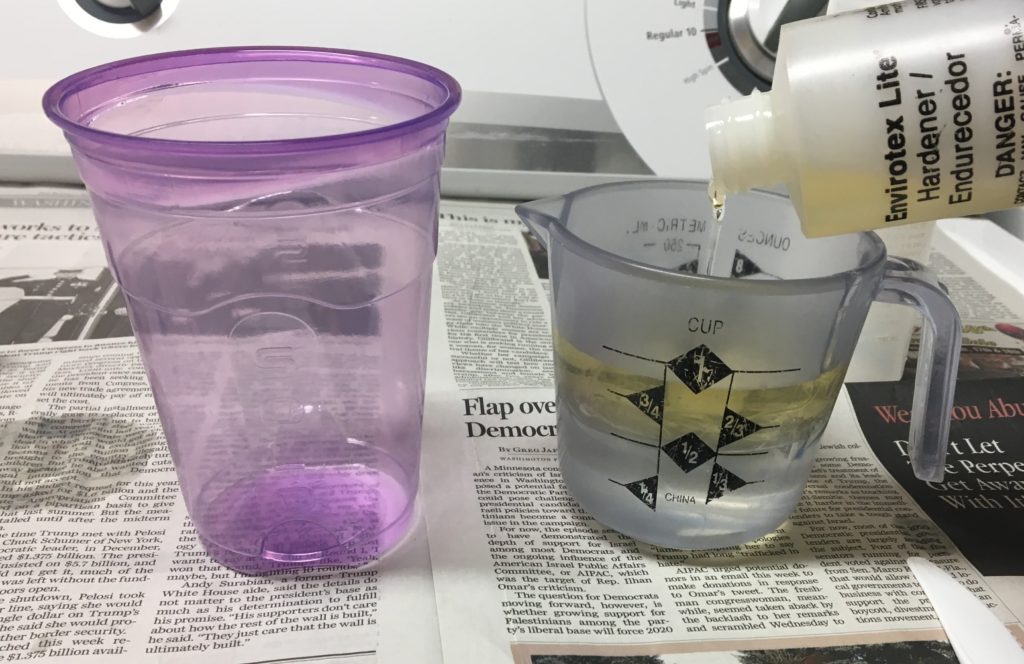
2. Set two bottles of Pour-On Finish in warm water to warm up for about 15 minutes. Ideal application temperature is 75°F.
3. Work in a warm, well-ventilated, dust-free area. Protect your work surface with cardboard and newspaper. Anticipate a good deal of runoff.
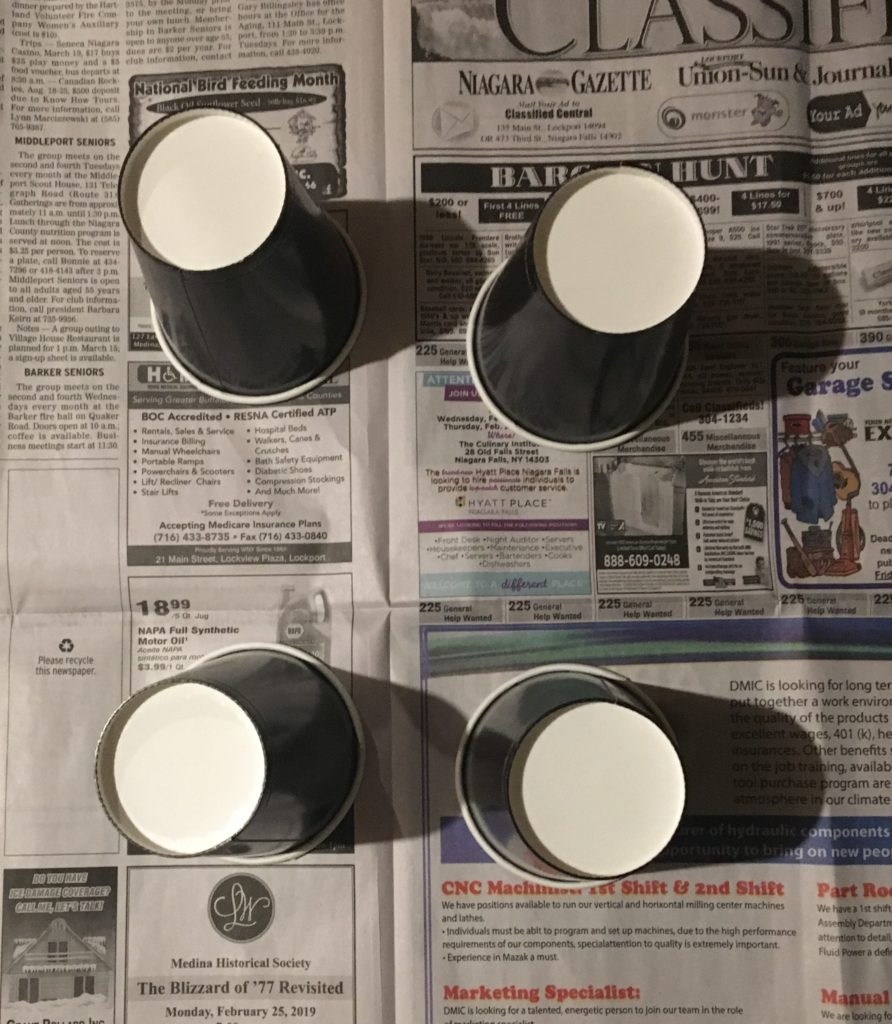
4. Set up four disposable cups to support your photo frame. Lay the frame flat atop the cups.
5. Put on gloves. In throwaway measuring cup, carefully measure ½ cup resin plus ½ cup hardener, to make 1 cup total.
6. Using a disposable stirrer, stir for 2 minutes, being sure to scrape the sides and bottom of cup.
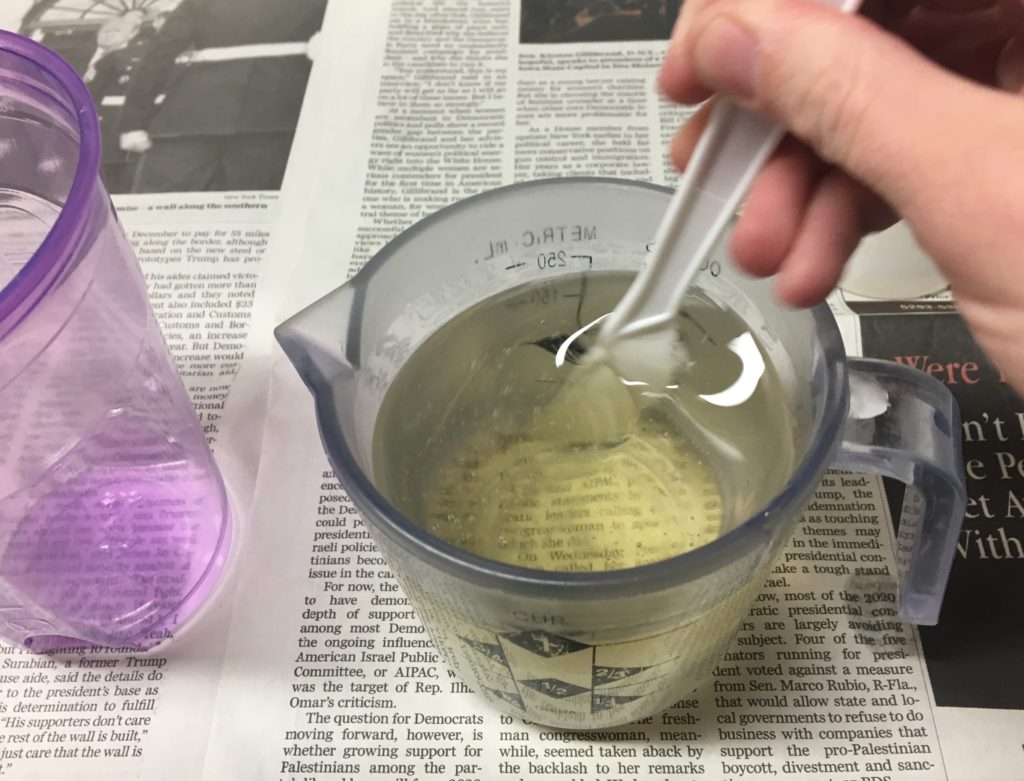
7. Transfer mixture to a disposable cup with a new stirrer. Stir for one minute more.
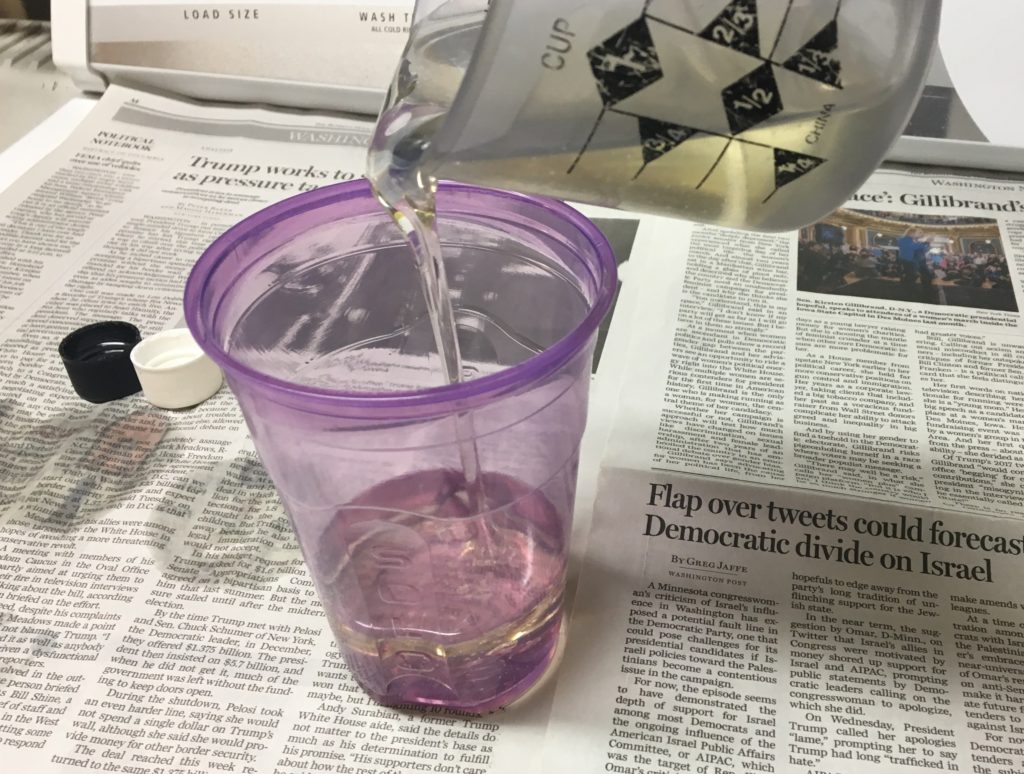

8. Immediately pour onto photo frame. Go slowly and aim for even coverage. Resin will quickly start to spread and run off sides.
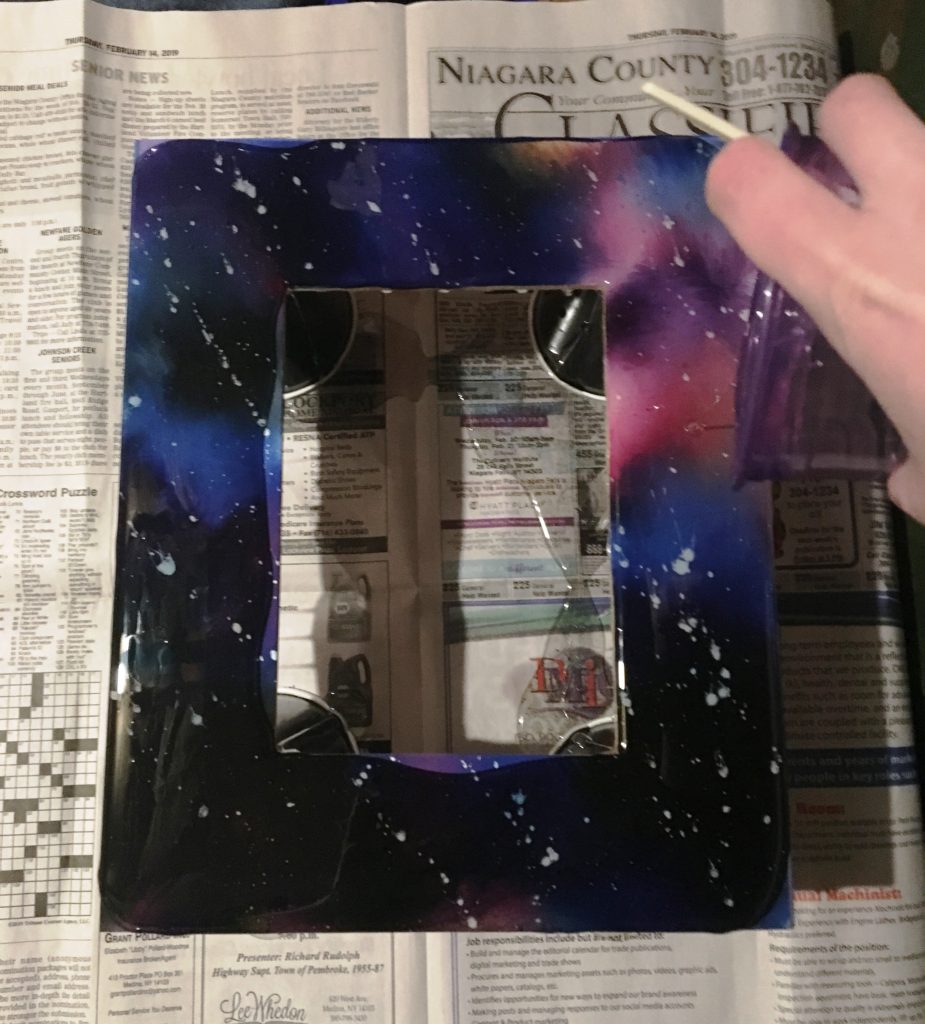
9. Use a plastic knife or putty knife to gently spread the resin to all edges and corners of the frame. The liquid resin will continue to run off the edges.
10. Exhale gently over the whole surface of the frame. The carbon dioxide in your breath will burst any air bubbles that have emerged.
11. Wait about 15 minutes. Again, breathe gently on the resin to eliminate any air bubbles. Use your plastic knife to smooth away any drips hanging from the edges and underside of the frame.
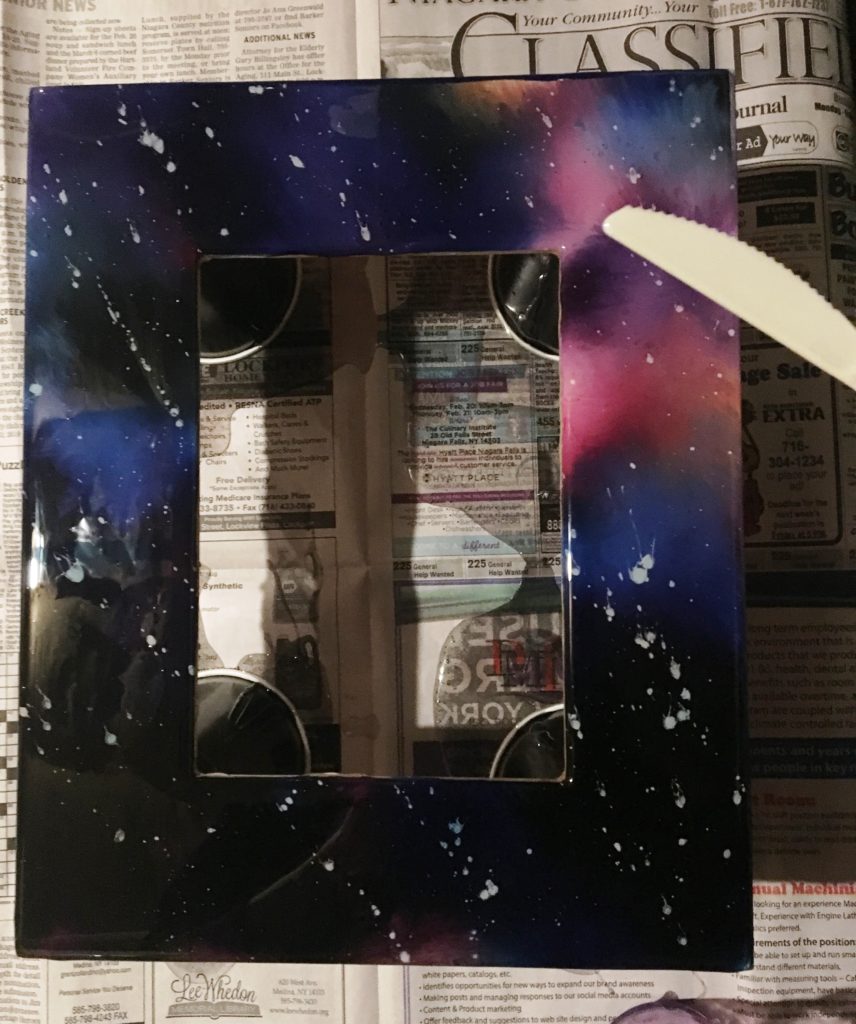
12. Allow to dry for several days, according to the manufacturer’s instructions.
13. Insert a photo, replace back of frame, and enjoy!
Watch our “How To” video of Part 2 here: https://youtu.be/Hqvpyxcuzlg
Don’t forget to follow our channel on YouTube and follow us on Facebook!